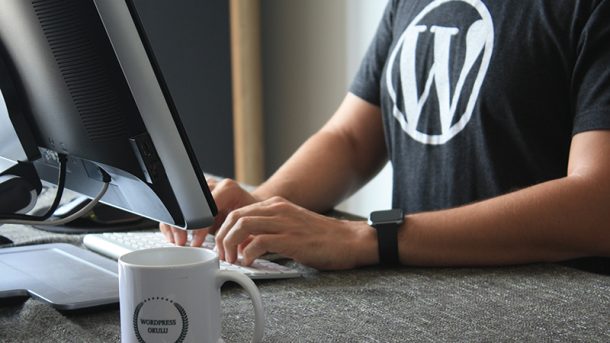
WordPress has become the go-to platform for website development due to its flexibility and user-friendly interface. One common question that arises among web developers and designers is whether it is possible to design a WordPress website on a local server (localhost) and later transfer it to a live server. In this article, we will explore the feasibility of designing a WordPress site on localhost and discuss the steps involved in transferring it to a server.
Benefits of Designing on Localhost: Designing a WordPress website on localhost offers several advantages:
- Offline Development: Localhost provides a controlled environment for website development, allowing designers to work offline without the need for an internet connection.
- Enhanced Security: Developing on localhost minimizes security risks associated with working directly on a live server, reducing the chances of unauthorized access or data breaches.
- Testing and Experimentation: Designers can freely experiment with themes, plugins, and customizations without affecting the live website, ensuring a seamless user experience when the site goes live.
Designing a WordPress Site on Localhost:
- Setting Up a Local Development Environment: Install a local server stack such as XAMPP, WAMP, or MAMP on your computer. These tools provide the necessary server environment to run WordPress locally.
- Downloading and Installing WordPress: Obtain the latest version of WordPress from the official website and install it on your localhost using the provided installation instructions.
- Designing and Customizing the Website: Select a WordPress theme that aligns with your website’s purpose and customize it according to your preferences. Install and configure plugins to enhance the site’s functionality.
- Content Creation: Add pages, posts, images, and other content to populate your website. Use the WordPress editor to create engaging and SEO-friendly content.
Transferring the Website to a Live Server:
- Choose a Web Hosting Provider: Select a reliable web hosting provider that meets your website’s requirements. Consider factors such as server reliability, performance, customer support, and pricing.
- Domain Name and DNS Configuration: Register a domain name for your website and configure the domain’s DNS settings to point to your chosen web hosting provider.
- Uploading Files to the Live Server: Export the WordPress database from localhost and import it into the live server’s database. Transfer the entire WordPress installation directory to the live server using FTP or a file manager provided by your hosting provider.
- Configuring WordPress on the Live Server: Update the wp-config.php file with the new database details specific to the live server. Modify the site URL in the WordPress settings to reflect the live domain.
- Testing and Launching: Perform thorough testing on the live server to ensure everything functions as expected. Fix any issues that may arise during the transfer process. Once satisfied, make the website live for the public to access.
Conclusion:
Designing a WordPress website on localhost provides a convenient and secure environment for development. It allows designers to unleash their creativity, experiment with various features, and fine-tune the website before making it live. By following the necessary steps to transfer the website from localhost to a live server, you can seamlessly launch your WordPress site and share it with the world.