Managing multiple email accounts can be quite a hassle. Luckily, Gmail offers a convenient solution by allowing you to centralize your email communication in one place. In this article, we will guide you through the process of connecting your personal email to Gmail, enabling you to send and receive emails seamlessly without the need for separate email clients. Best of all, it’s completely free! Let’s get started.
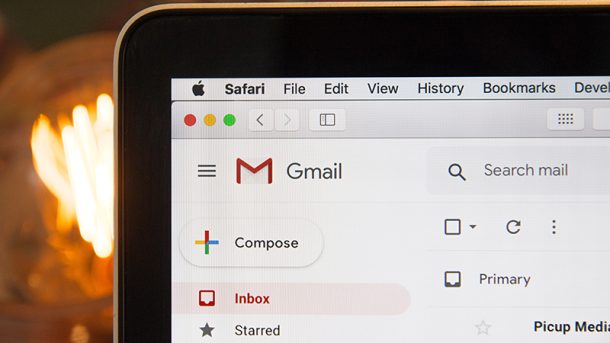
Step 1: Create a Gmail Account If you don’t already have a Gmail account, the first step is to create one. Go to the Gmail website (www.gmail.com) and click on the “Create account” button. Fill in the required information, choose a unique username, and create a secure password. Once you’ve completed the sign-up process, you’ll have your own Gmail account ready to use.
Step 2: Access Gmail Settings After logging into your Gmail account, locate the settings menu by clicking on the gear icon in the top-right corner of the screen. From the dropdown menu, select “Settings” to open the Gmail settings page.
Step 3: Add Your Personal Email Account Within the Gmail settings page, navigate to the “Accounts and Import” tab. Under the “Check mail from other accounts” section, click on the “Add a mail account” button. A new window will appear, prompting you to enter the email address of your personal account.
Step 4: Enter Email Account Details In the window that appears, enter the email address of your personal account and click “Next.” Choose whether you want to import emails from this account, then enter the POP server information or select the appropriate option (IMAP) if your personal email supports it. Fill in the required information, including the username and password for your personal email account. If you’re unsure about the server details, contact your email service provider for assistance.
Step 5: Configure Email Import Settings Once you’ve entered the necessary details, you’ll be presented with options to configure how Gmail handles emails from your personal account. Choose whether you want to label incoming messages, apply a specific Gmail inbox category, or enable automatic email forwarding. These settings can be customized to suit your preferences.
Step 6: Verify Email Account Ownership To complete the setup process, Gmail may require you to verify that you own the email account you’re adding. This verification process varies depending on your personal email provider. Gmail will provide instructions on how to proceed, which usually involves clicking on a verification link sent to your personal email address.
Step 7: Sending Emails from Gmail Using Your Personal Email Address Once your personal email account is added and verified, you can start sending emails from Gmail using your personal email address. When composing a new email, you’ll notice a drop-down menu next to the “From” field. Click on it to select your personal email address as the sender.
By following the steps outlined in this article, you can easily connect your personal email to Gmail and enjoy the convenience of managing multiple email accounts from a single platform. Whether you prefer the functionality of an email client or the accessibility of web-based email, Gmail offers a seamless integration solution. Take advantage of this free feature to streamline your email communication and enhance your productivity.
Photo by Stephen Phillips